![Warchest_LogoOptions_1v5-1.png]](https://support.mywarchest.com/hs-fs/hubfs/Warchest_LogoOptions_1v5-1.png?height=50&name=Warchest_LogoOptions_1v5-1.png)
Before You Delete
We strongly recommend exporting your data first. This way, if you delete something by mistake, you can re-upload the file and restore your records.
- Disbursements: Export CSV from the Disbursements screen.

- Contributions: Export CSV from the Contributions screen.

Deleting Disbursements
- Go to the Disbursements screen.
- Use filters to control what will be deleted:
- Date Range: Select a specific time period (e.g., just July)

- Department or Line Item: Narrow deletions to one department or budget line.

- Date Range: Select a specific time period (e.g., just July)
- Click Bulk Delete to confirm.

- If no filters are applied, all disbursements will be deleted.
- If filters are applied, only those matching the filters will be deleted.
Deleting Contributions
- Go to the Contributions screen.
- Use filters if needed:
- Date Range: For example, delete only contributions from June forward.

- Date Range: For example, delete only contributions from June forward.
- Click Bulk Delete to confirm
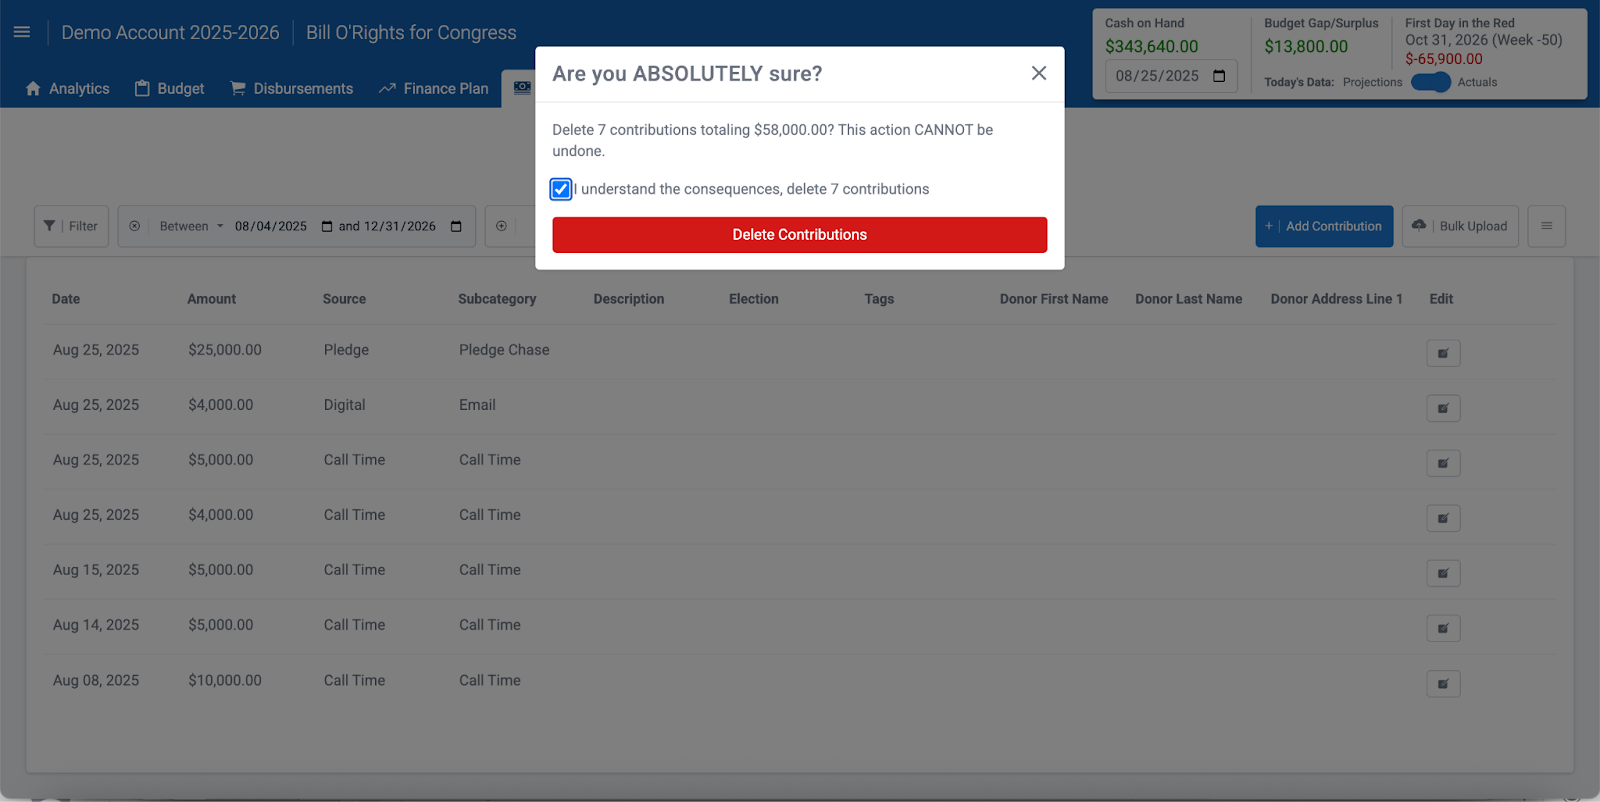
- If no filters are applied, all contributions will be deleted.
- If filters are applied, only those contributions will be deleted.
Best Practices
- Always export first. Run an export of the records before deleting so you have a backup.
- Filter carefully. Avoid unintentional full deletions by applying date, department, or line item filters.
- Re-upload if needed. If something was deleted in error, you can restore it by uploading your saved CSV.