
Your contribution actuals can be added to Warchest on the Contributions page (app.mywarchest.com/contributions)
On this page you will see a header with a summary of your actuals, and then a table with each contribution in Warchest:

Users have the option to add each individual contribution they receive, or to add bulk totals. Read a bit more about this in our article here.
To add a new contribution, click “add contribution” to add individually, or “bulk upload” to upload a spreadsheet of contributions.
Add Contribution button:
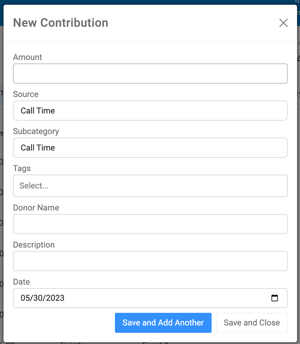
When you click “add contribution” you’ll be presented with a popup to allow you to enter information about your contribution. Depending on if you have the Finance Plan on or off, you will have the following required and optional fields:
- Amount*
- Source+
- Subcategory+
- Tags
- Donor Name
- Description
- Date*
*Required
+Required when the Finance Plan is on
You may save a single contribution and close, or save and add another immediately.
Bulk Upload:
When adding many contributions at once to Warchest, you may wish to bulk upload. Warchest has you covered here too. Click “Bulk Upload” and you’ll be taken to the bulk upload screen.
Warchest takes CSV files, and we provide a template for you to use, but your headings do not need to match exactly what Warchest expects. Just be sure your spreadsheet has the following information: Amount and Date, and if you have the Finance Plan on: Source and Subcategory.
You can drag and drop your CSV file into Warchest, and then you will be taken to a screen to match your column headings.
You may reassign headers (for example, your spreadsheet could have “cost” instead of “amount”).
Once you’re happy with your headers, go ahead and click “Next Step,” which will either take you to a corrections page or a confirmation screen.
Corrections page:
If your spreadsheet data does not match what Warchest is looking for, we’ll tell you on this screen. By default, you’ll see all your rows requiring corrections.
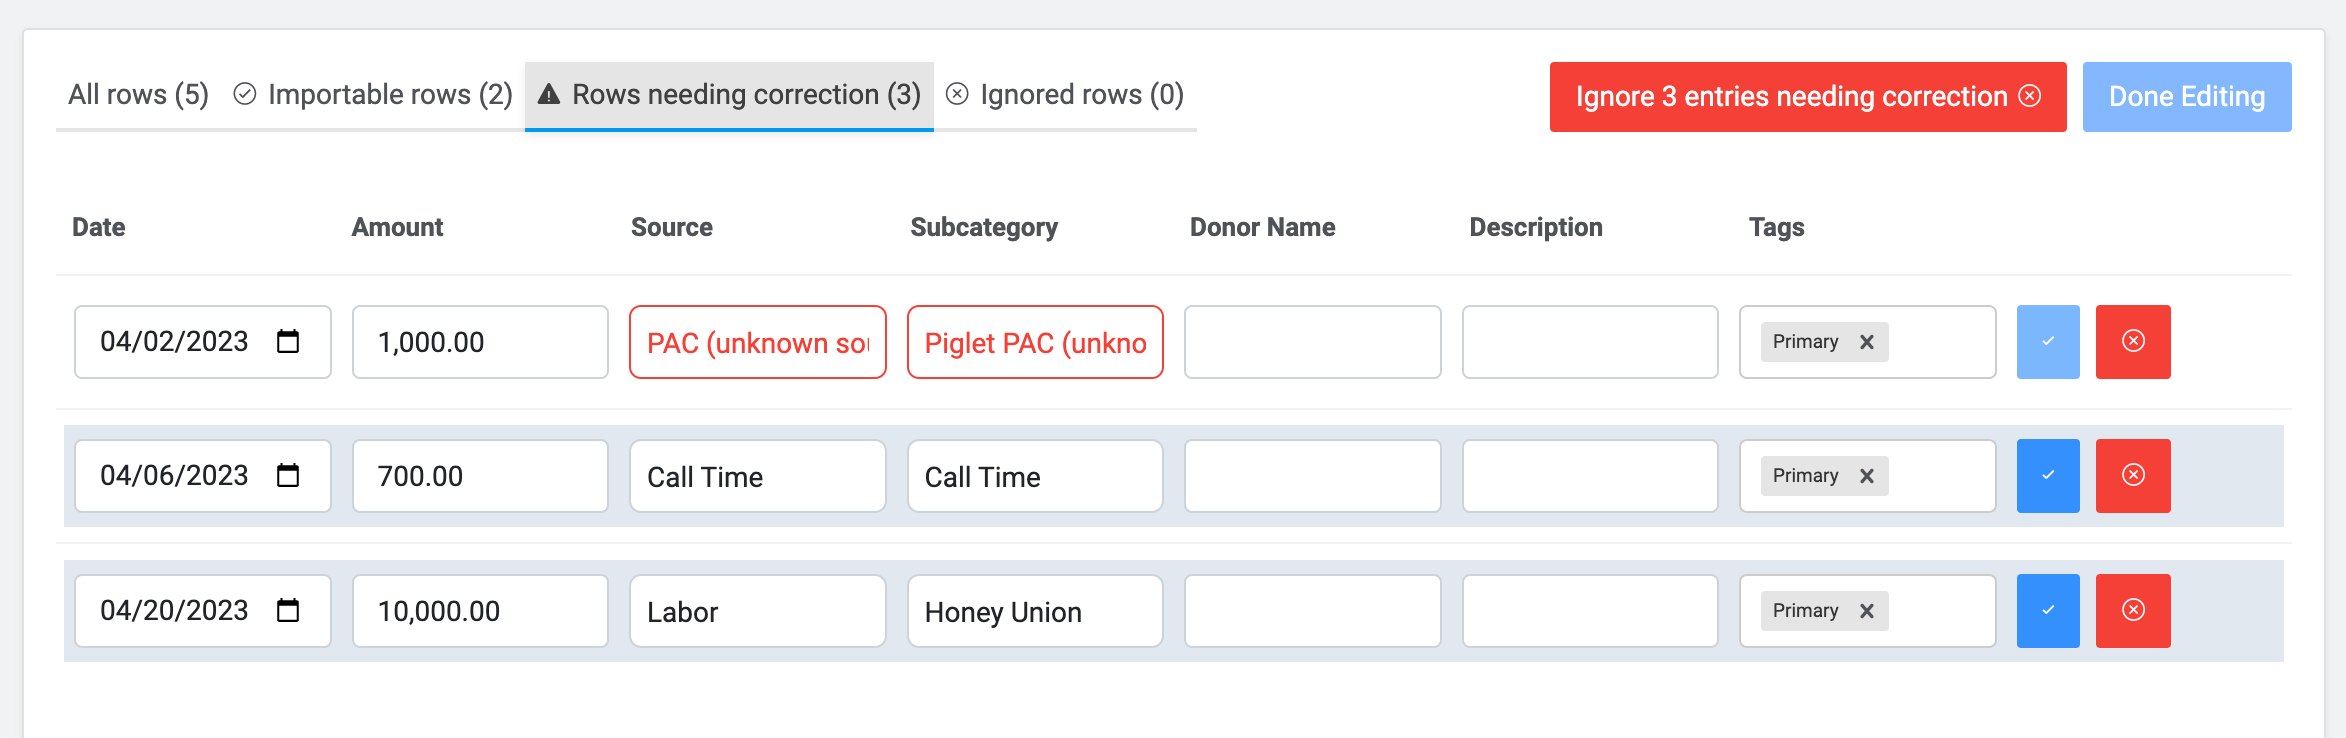
Each required correction will be highlighted in red. When you’re happy with corrections you’ve made, you can click the blue checkmark icon by a row to save those corrections. If you’d prefer to ignore the row from your upload, you can click the red X button by a row.
Ignored rows will not be uploaded, but you will have the chance to download them as a CSV on the last step of uploading.
You may all ignore all rows requiring corrections using the button at the top as well.
If you wish to make changes to correct data, you may also navigate to “All rows” or “corrected rows” to make changes there too.
If you’re happy with your upload/changes, go ahead and click “Next Step,” which will take you to a confirmation page. Clicking “submit” will upload your contributions.